I get requests like this from time to time: “Can you take all the components off of my old frame and put them on my new frame, and put all the components from my new frame on my old frame?”
My answer usually goes something like “Yes, but you might need a new front derailleur and the crankset might need some kind of adapter.”
The front derailleur fit question is just whether the derailleur is braze-on or clamp-on, and if clamp-on, the diameter of the seatpost. Pretty straightforward, not very esoteric. That’s all I’ll say about that.
The crank/bottom bracket interface is much more… interesting.
For some fun reading Google “Bottom Bracket Standards Frustration”.
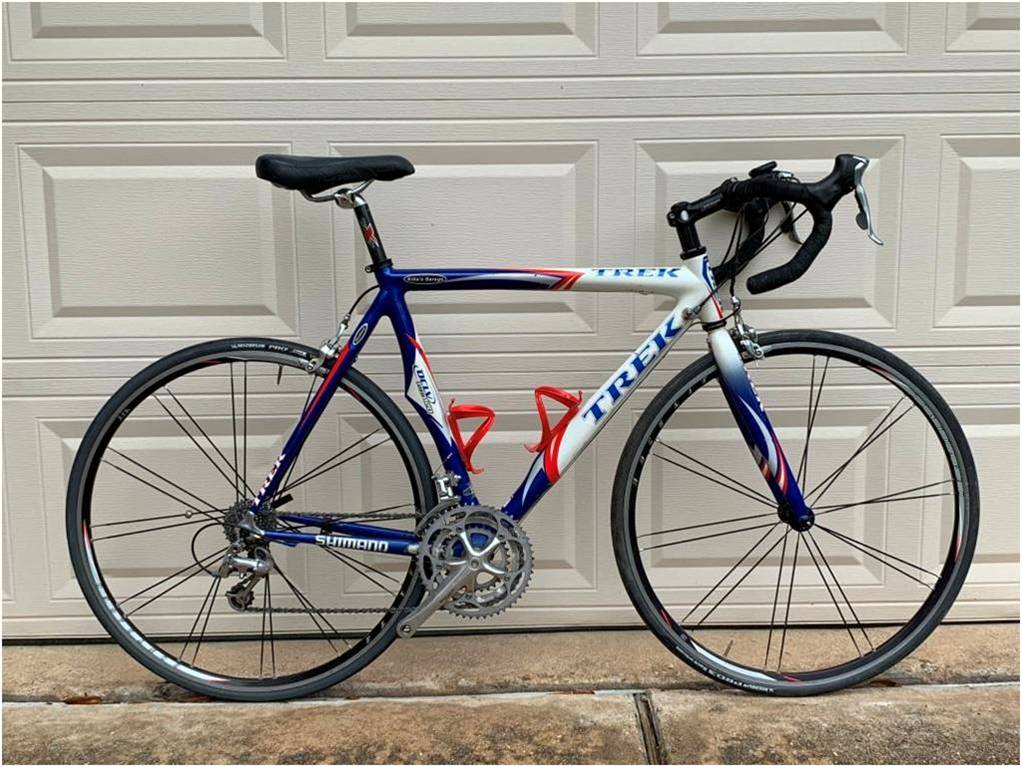
I recently got a request from my friend Chris to swap all the components, including the cranksets, between two bikes. One was an older Trek Postal he had just purchased, and the other was a newer Kestral.
Here are the crank specs for both:
| Bike One: Trek Postal | Bike Two: Kestral |
| Bottom bracket shell:
BSA English threaded |
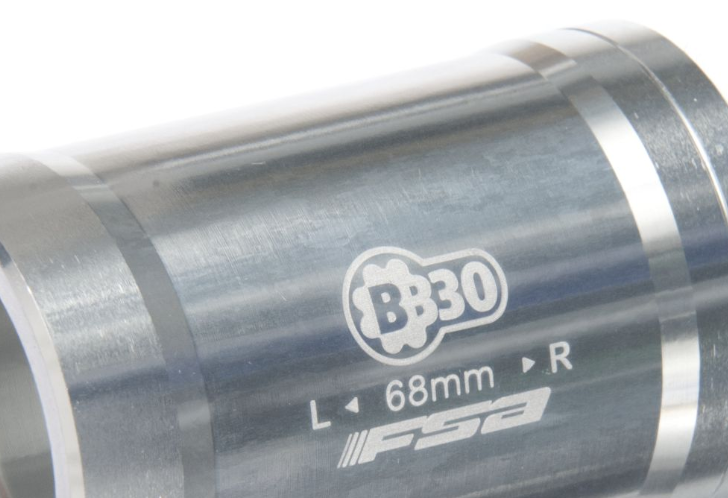
Bottom bracket shell:
BB30 |
| Bottom bracket bearing set:
Octalink cartridge bottom bracket (The bearings were still good. Those Shimano cartridge bearing units used to last forever, so I was swapping it with the crank.) |
Bottom bracket bearing set:
BB30 press-in bearings, worn out |
| Adapter: None | Adapter: |
| Crankset:
Shimano Octalink Ultegra triple |
Crankset:
Shimano Ultegra Hollowtech, which I’m sure you know has a 24mm spindle. |
Installing the crankset from Bike Two onto Bike One was no problem. I screwed in a Shimano external bearing bottom bracket. The 24mm Hollowtech crankset was then a direct fit.
Installing the crankset from Bike One onto Bike Two is where it got interesting.
If it had been a Hollowtech (24mm) spindle, I could have used the Wheels Manufacturing bushings. But no, it was Octa-link. And the Octa-Link spindle is integrated with the cartridge bearing bottom bracket. That whole cartridge assembly requires a BSA threaded interface.
As an aside, there are two Octa-Link standards, V-1 and V-2, and they are not interchangeable. You can ruin your crank if you get this wrong.
As another aside, here’s an idea for an aftermarket product – a 24mm OD spindle with Octa-Link spline interfaces at each end. Are any of you aware of such a product?
Back on topic, it turns out what I needed is an available commercial product, a sleeve that press-fits into the bore of a BB30 shell and presents a BSA threaded interface! I had seen these press-fit threaded inserts but I had never given them much thought until this job. They come in two types, plastic and aluminum. I opted for aluminum because, plastic?
I started by extracting the BB30 bearings, removing the C-rings from the BB-30 shell, and cleaning everything up. I measured the honed ID of the shell to be 41.98mm.
 Trust me, it’s 41.98 mm
I measured the OD of my insert to be 42.00mm..
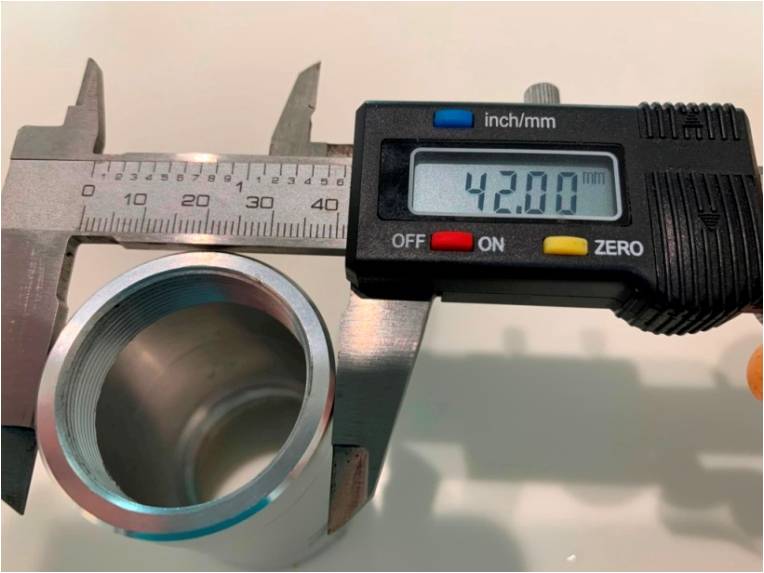
So I thought, I can press this sleeve into place with 0.02mm of interference, but I wonder if I could do something more interesting.
I did a little math/science and determined that if I reduced the sleeve temperature from 80F to zero the OD would shrink to ~41.96mm. Then I could just slide the sleeve in by hand. I tossed the sleeve in the deep freeze for a few hours and sure enough, the OD was 41.96!
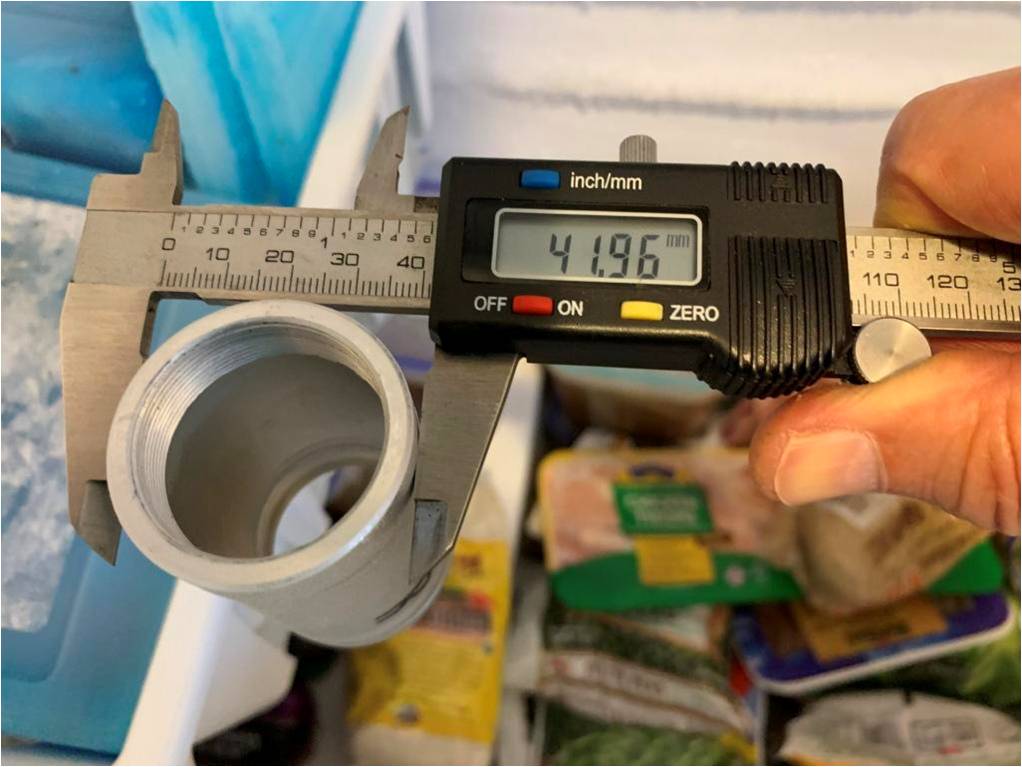
Great, but not practical without a dry room to prevent the sleeve from sweating, and moisture would prevent good bonding of the requisite Green Loctite. Oh, did I mention that assembly instructions call for application of Green Loctite prior to fitting?
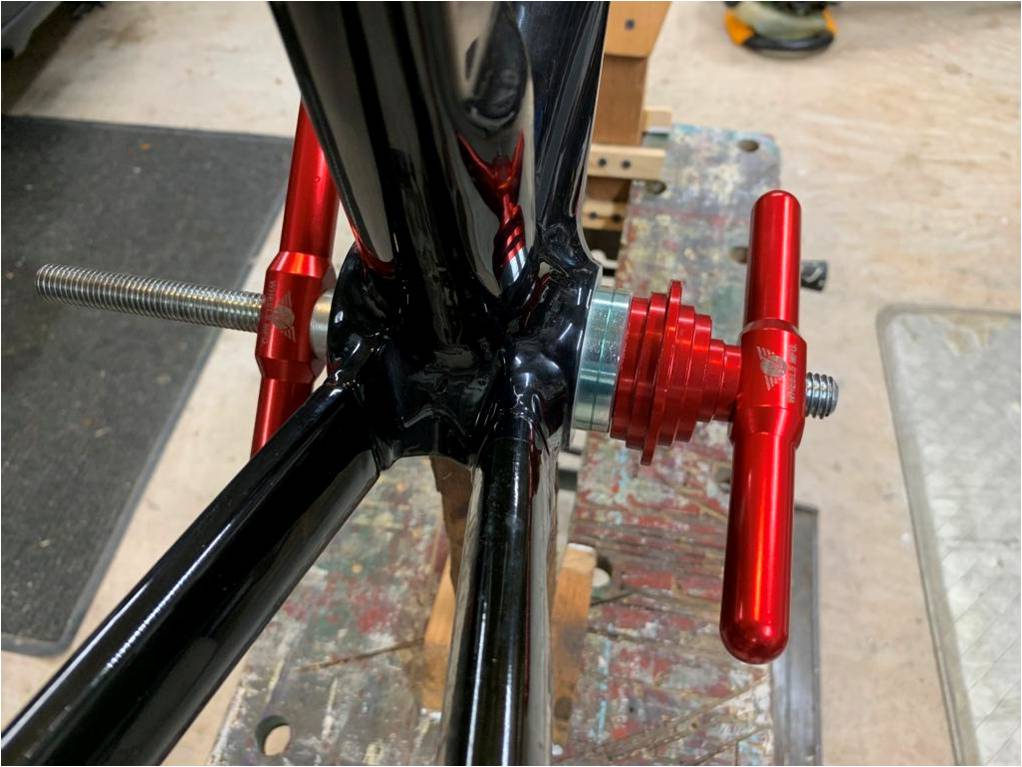
So I decided to do a regular room temperature interference press-fit. I was scared to death I would put it in backwards so I marked the right side.
 Selecting appropriate bushings, sleeves, and spacers for pressing
Ready to apply Green Loctite
There was, as expected, resistance while the left end of the sleeve passed through the right side of the BB30 shell, then free movement until both left and right ends of the sleeve engaged the BB30 shell, then resistance until final position was reached.
 At this point the left OD of the sleeve has passed through the right bore of the BB30 shell, and both ODs are about to engage their respective bores.
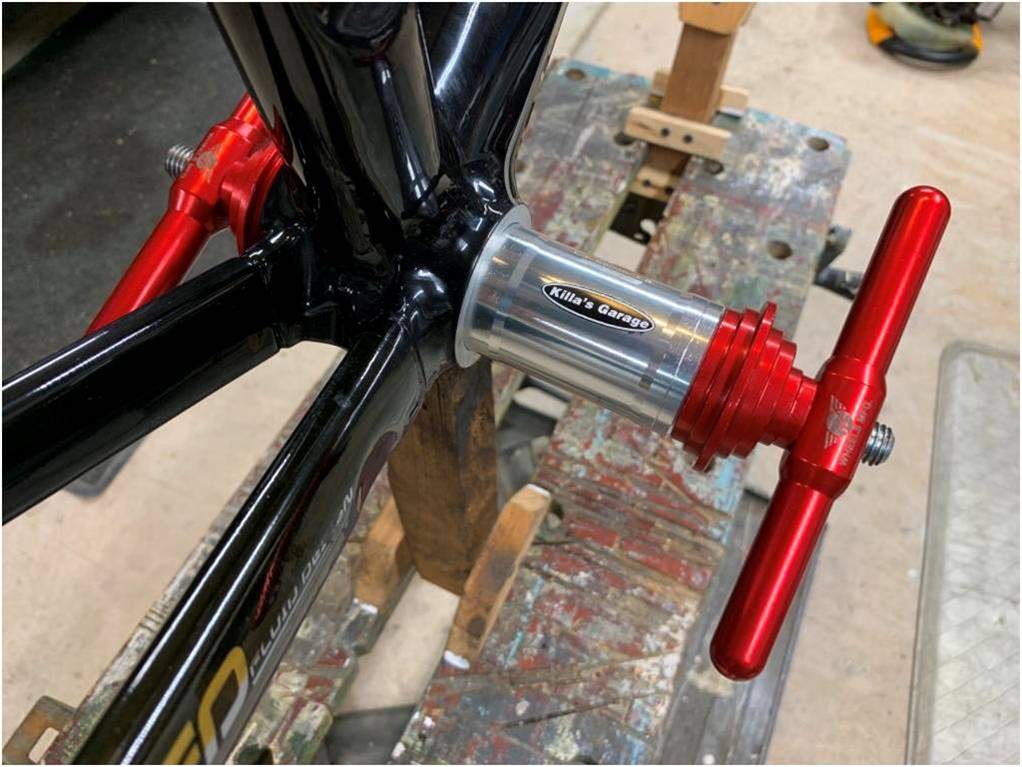
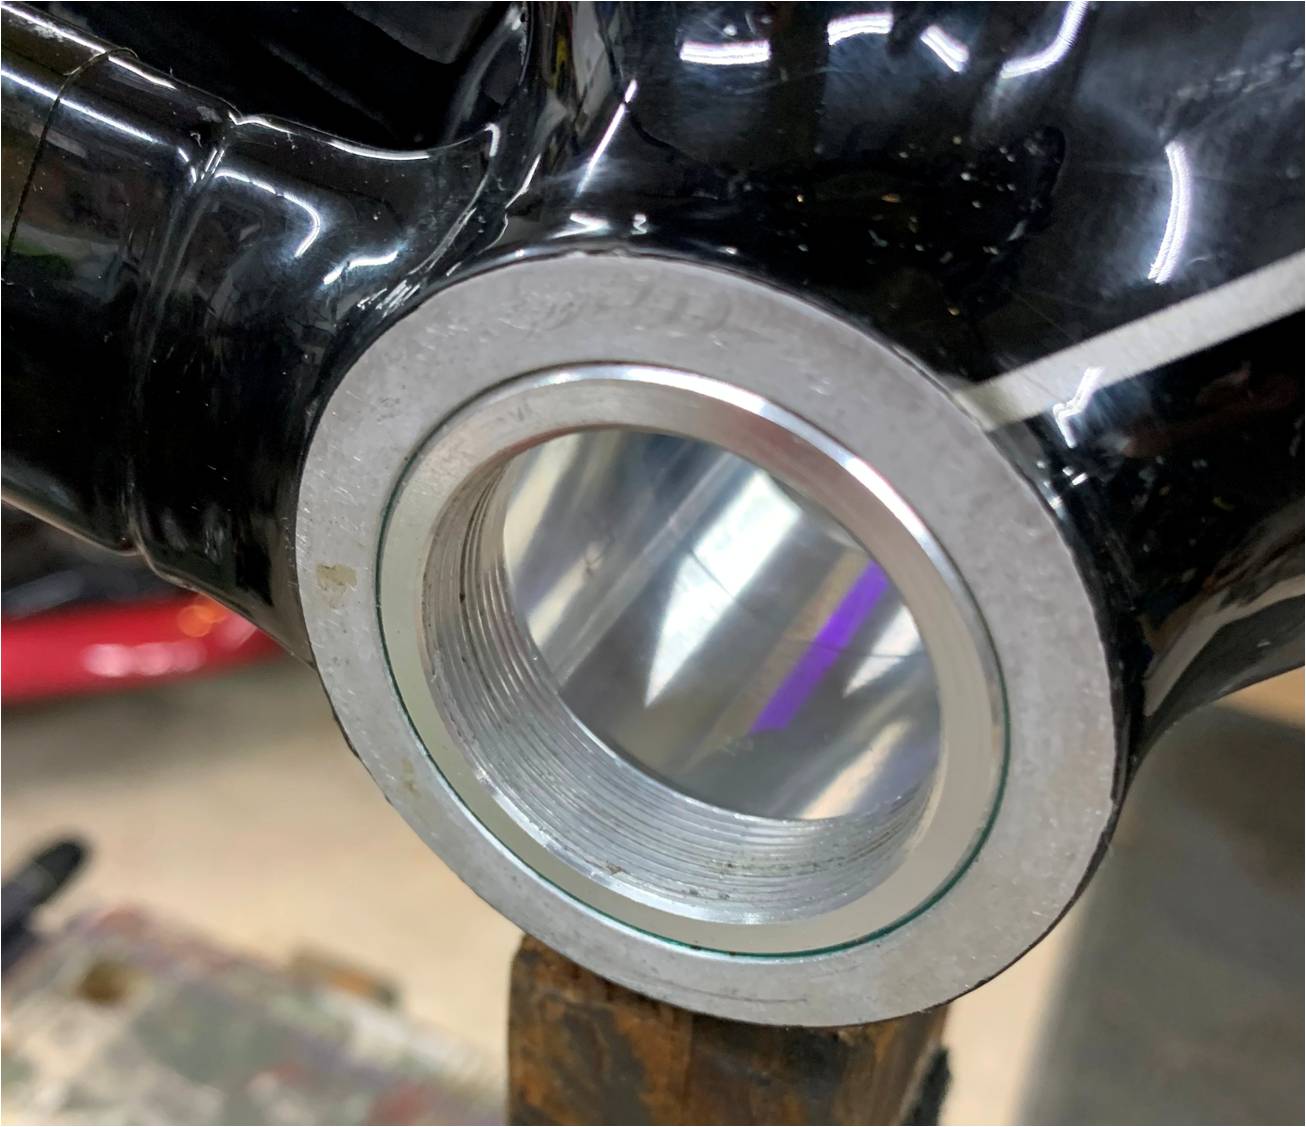 Final placement
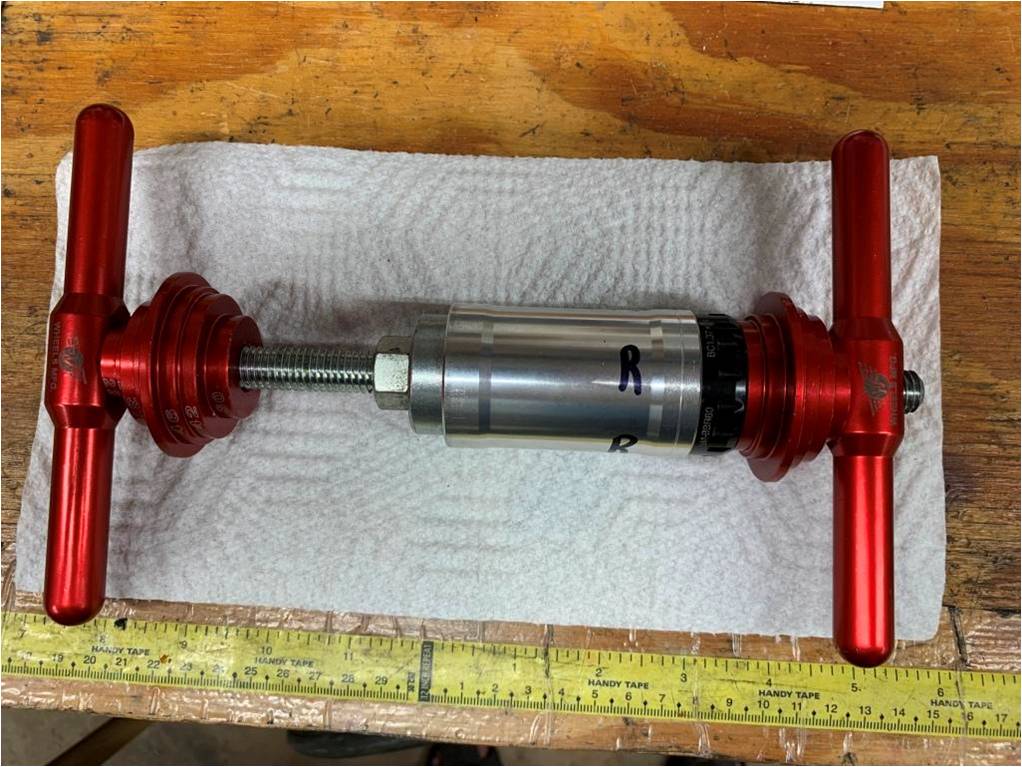
After letting the Loctite cure overnight, the final test of the interference fit was torquing the left and right Octa-link endcaps into place. I applied 40 ftlbs to each with no movement of the sleeve relative to the shell. Yay!
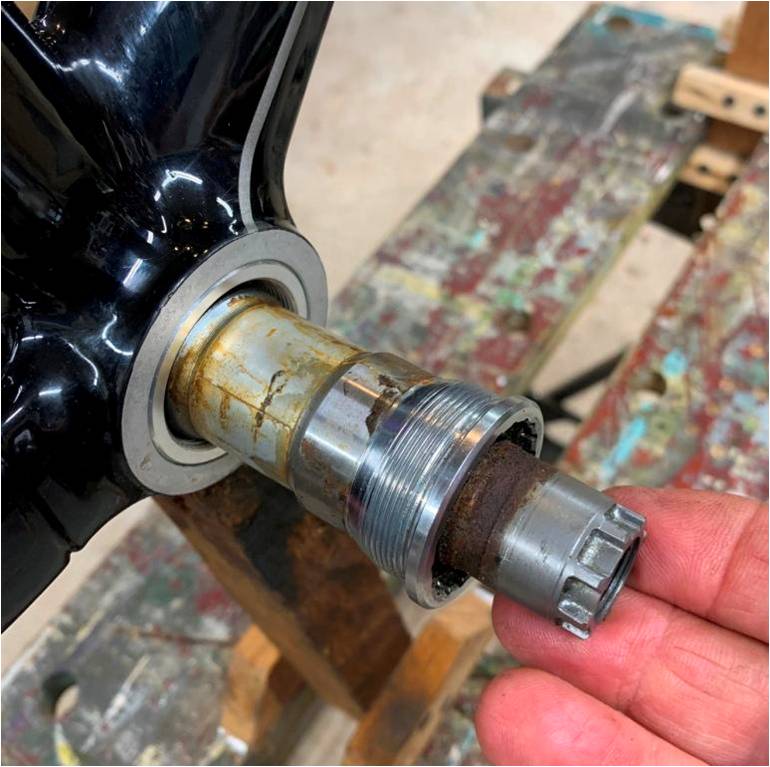 Octa-Link bottom bracket ready for insertion. It’s old and ugly, but it still spins like butter.
I was pretty proud of myself, and I was describing this operation to my good friend Pierre, who made two astute observations:
- “Did pressing the sleeve into place wipe all the Loctite off?” (Answer: I don’t know. I like to think that on the molecular level there is a really well-cured film of Loctite.)
- “You know, Mark, the middle of the sleeve is in axial compression.” Now that’s esoteric!
One more comment: Can this sleeve be removed? Good question. I see a lot of internet forum discussion on this topic. Removal seems to be possible with a bearing press and a short tube slightly over 42mm ID.
Or with an old cartridge bottom bracket and a hammer.
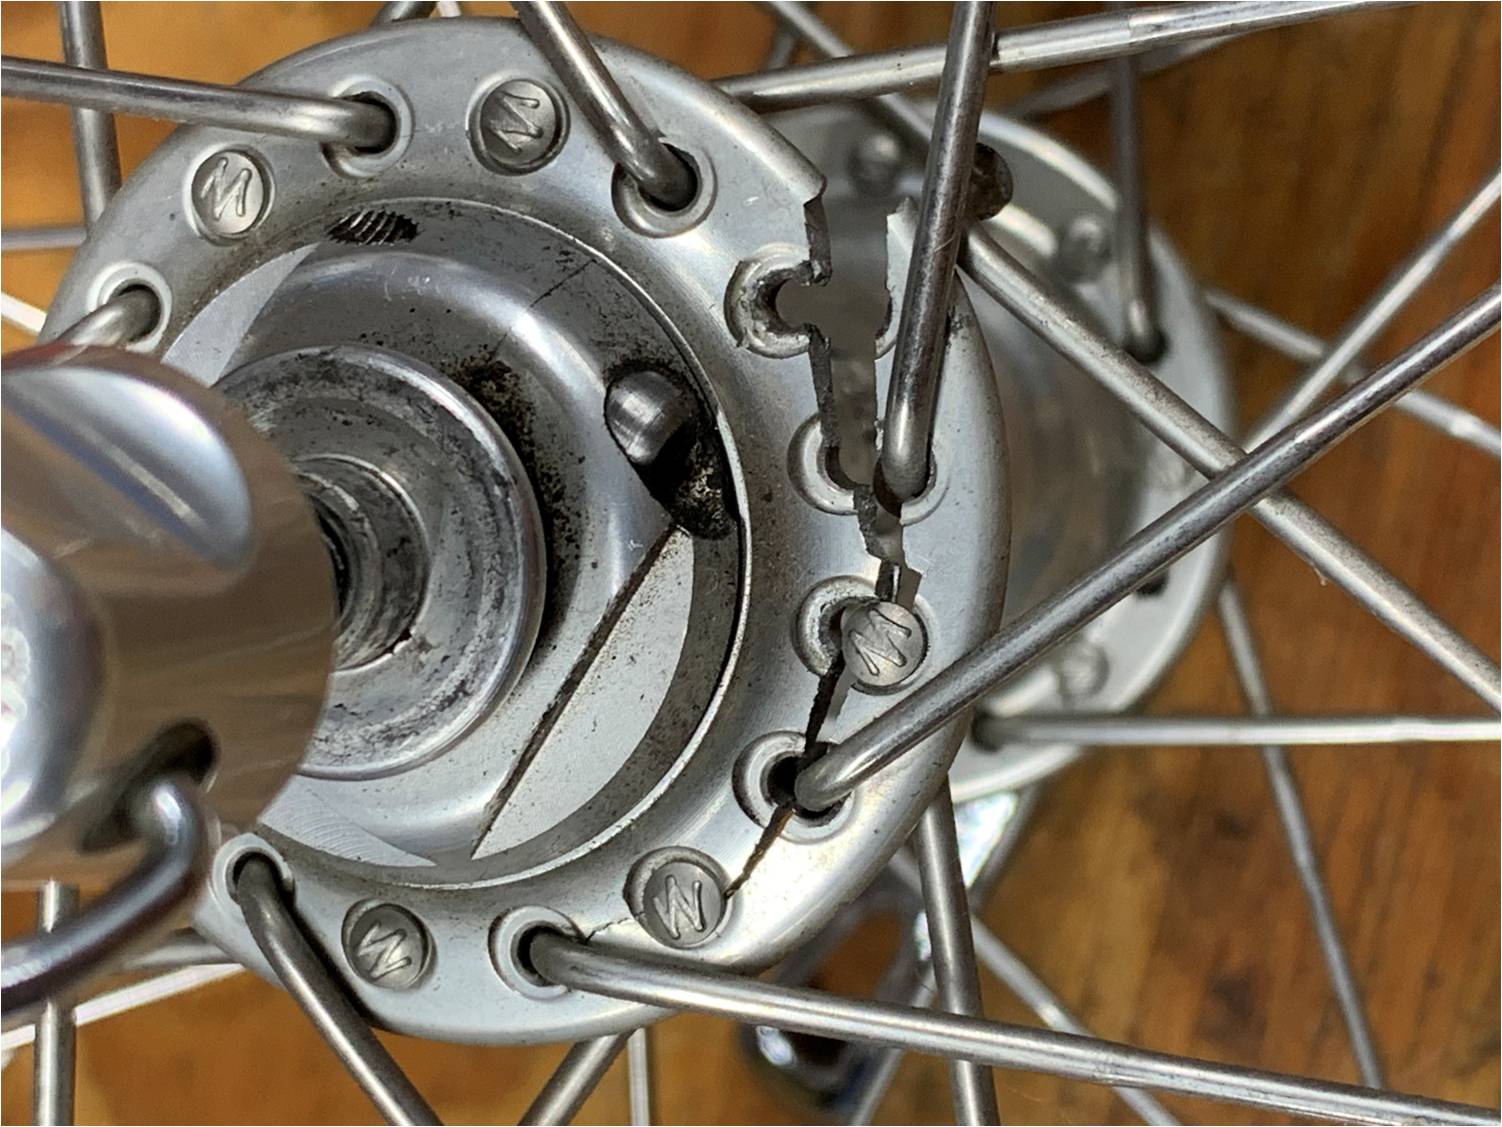
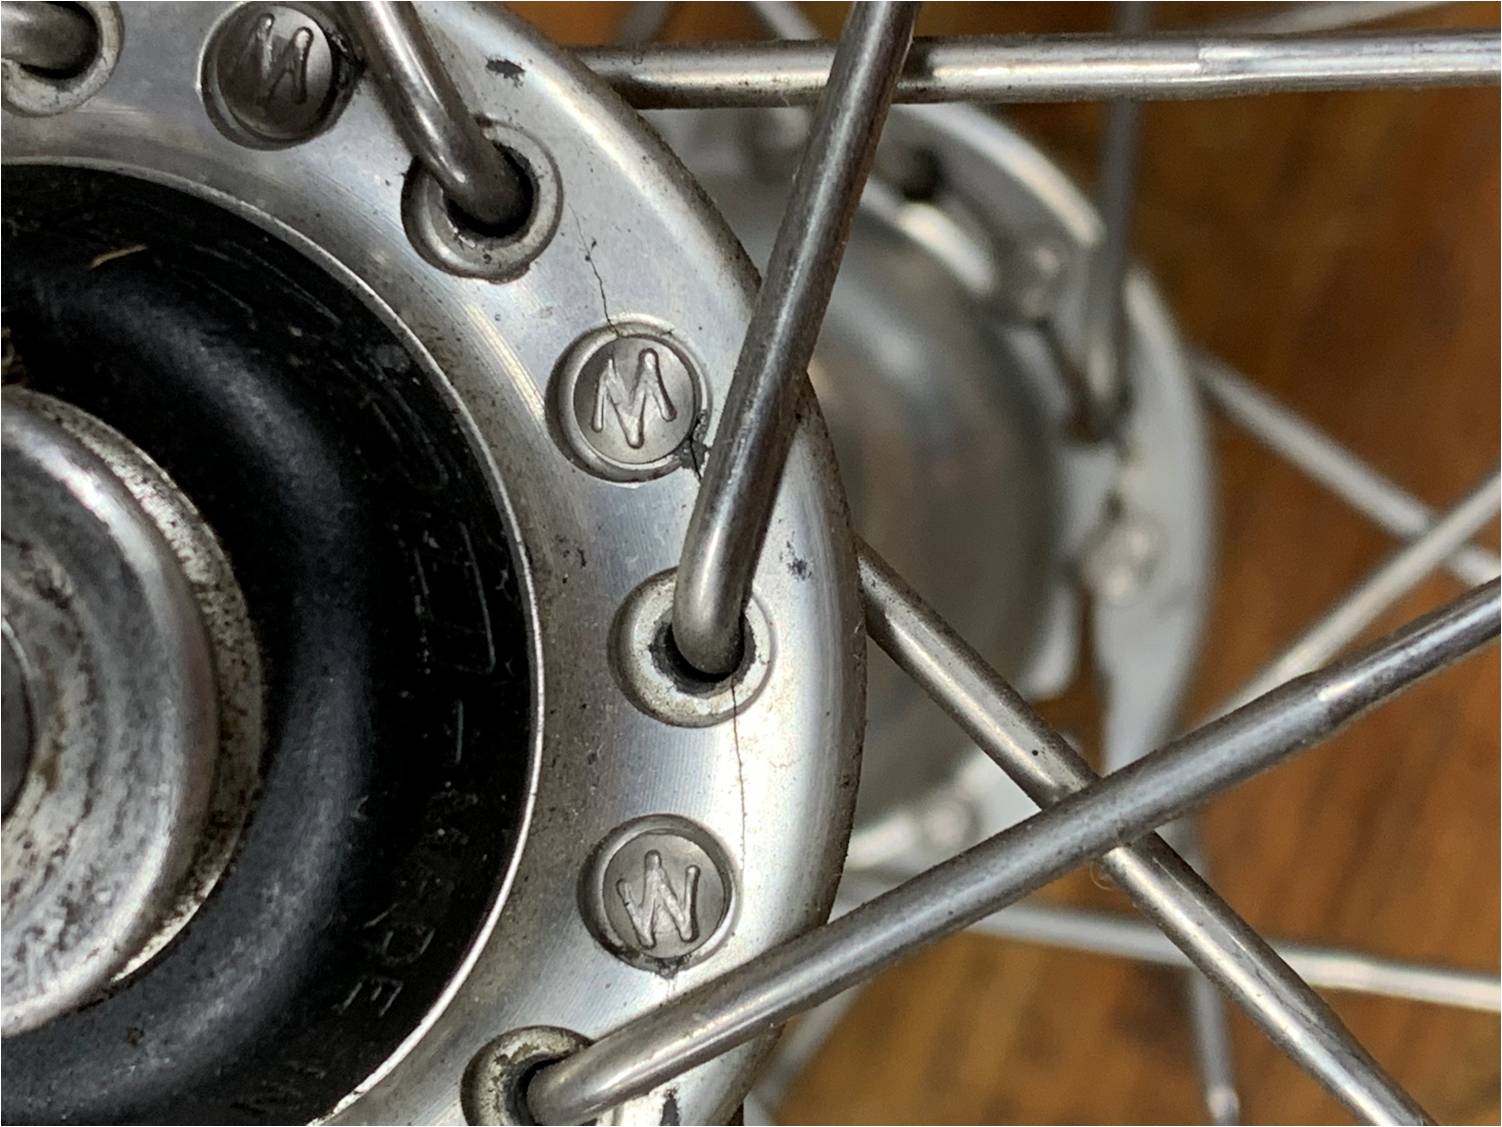
Bonus Failure Pictures:
Here’s a Campy front hub that (after many years of service) failed. The failure on one side is obvious. Closer inspection of the other side reveals a crack just beginning to propagate. Interestingly this crack is in a symmetric orientation with the larger failure.