Shimano dual pivot brake calipers are nice little machines, as are calipers from most other manufacturers that copy the dual pivot design. I say copy. I actually don’t know who invented the dual pivot brake. Shimano certainly popularized it.
They’re compact, stiff, and powerful enough to fully utilize the rim/brake pad interface, meaning you can skid the back tire or throw yourself over the bars with the front brake. You don’t need any more power than that. Don’t get me started on the rim brake vs disc brake discussion.
On the downside, they are limited to about 28mm tires. If you tried to scale up the design to clear a larger tire, it would be too flexible, unless you increased the thickness and weight of the arms unacceptably. Tire clearance is why cross bikes with larger tires use other brake designs, such as cantilevers.
One cool feature of dual pivot brake calipers is that they return to the same position every time they are released. Well, this is cool if the position they return to is correct. What if it’s not correct? One way to fix this is to grab the whole caliper and rotate it into position. This works, but it’s not very accurate, and it loosens up the attachment to the frame, making it more likely that the brake will move out of position next time you bump it with your foot or remove/insert a wheel.
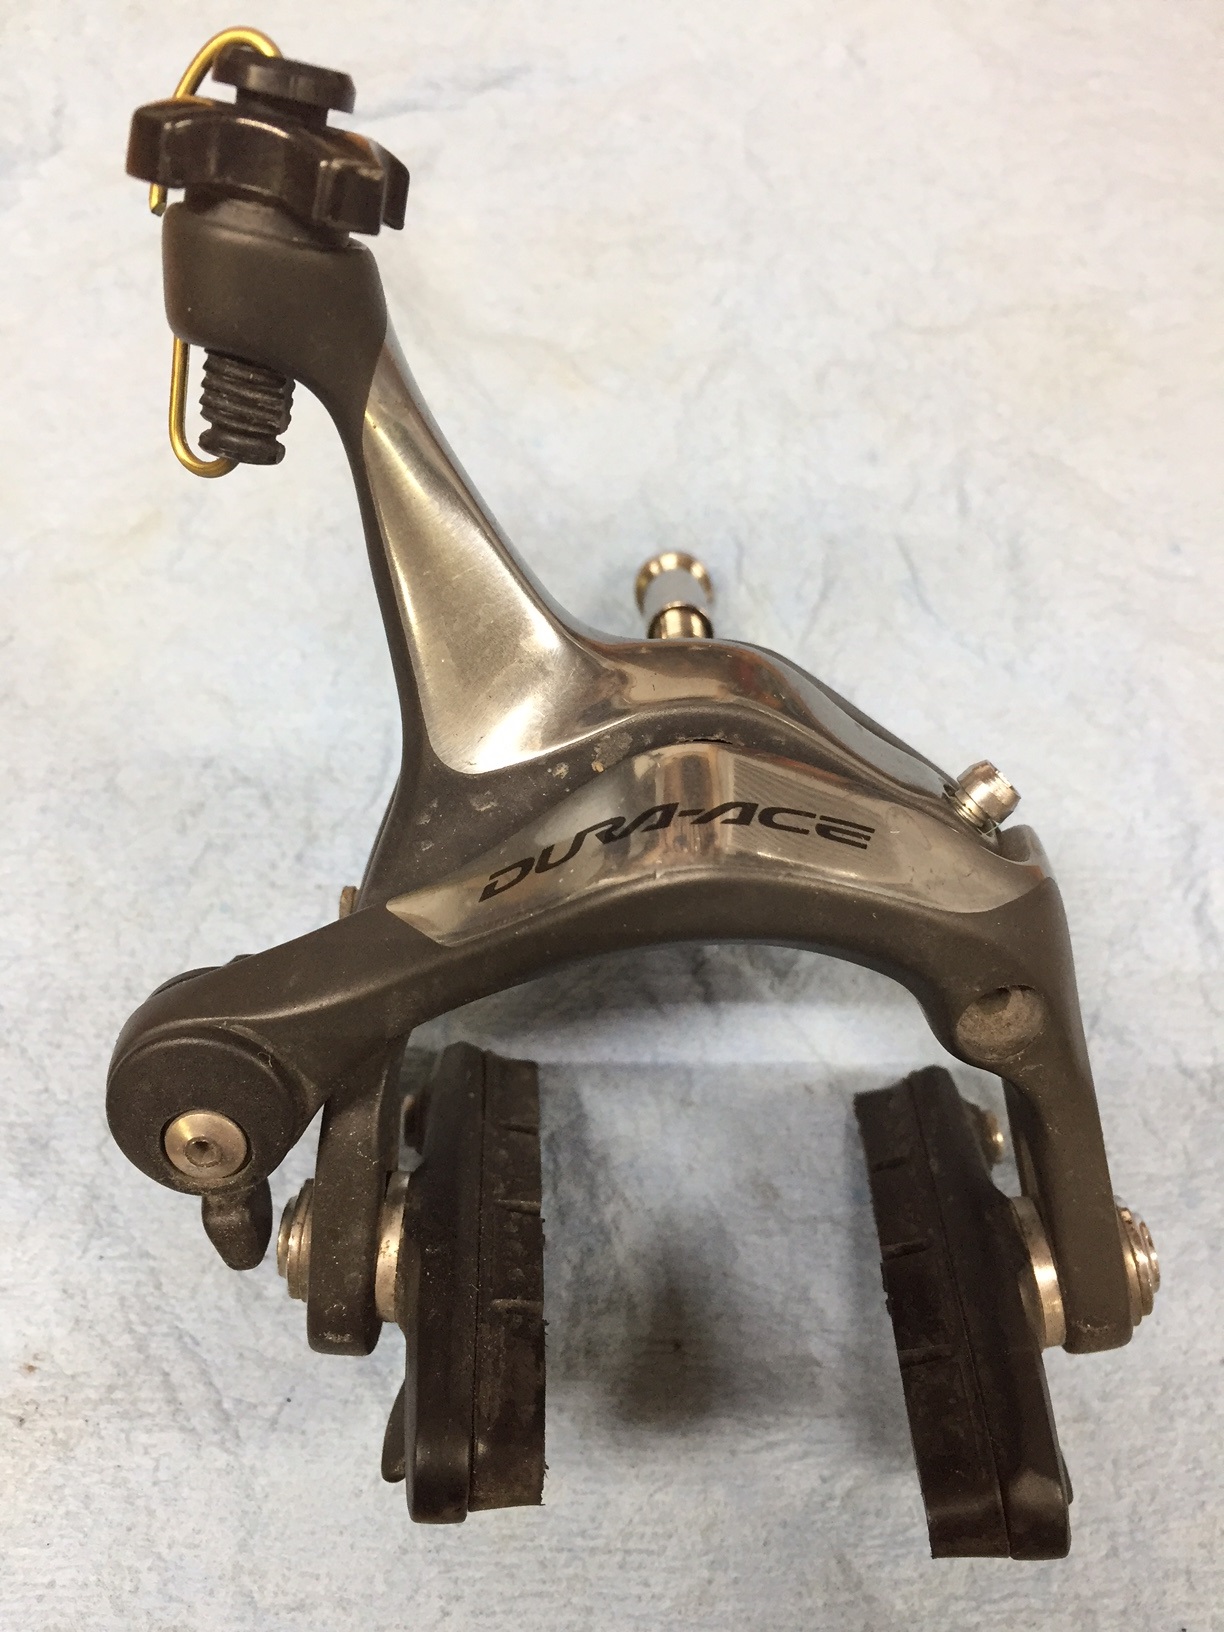
There is a better way to center your brake calipers and it’s built right into the brake. Every dual pivot brake caliper I have seen has a “lateral adjustment screw” whose function is to shift the brake pads to the left or right. It is usually a 3.0 mm allen head screw that is accessible from the top or side of the caliper. Contrary to popular belief, this screw is not for adjusting the distance between the pads, although it does seem to have a minor effect in that regard.
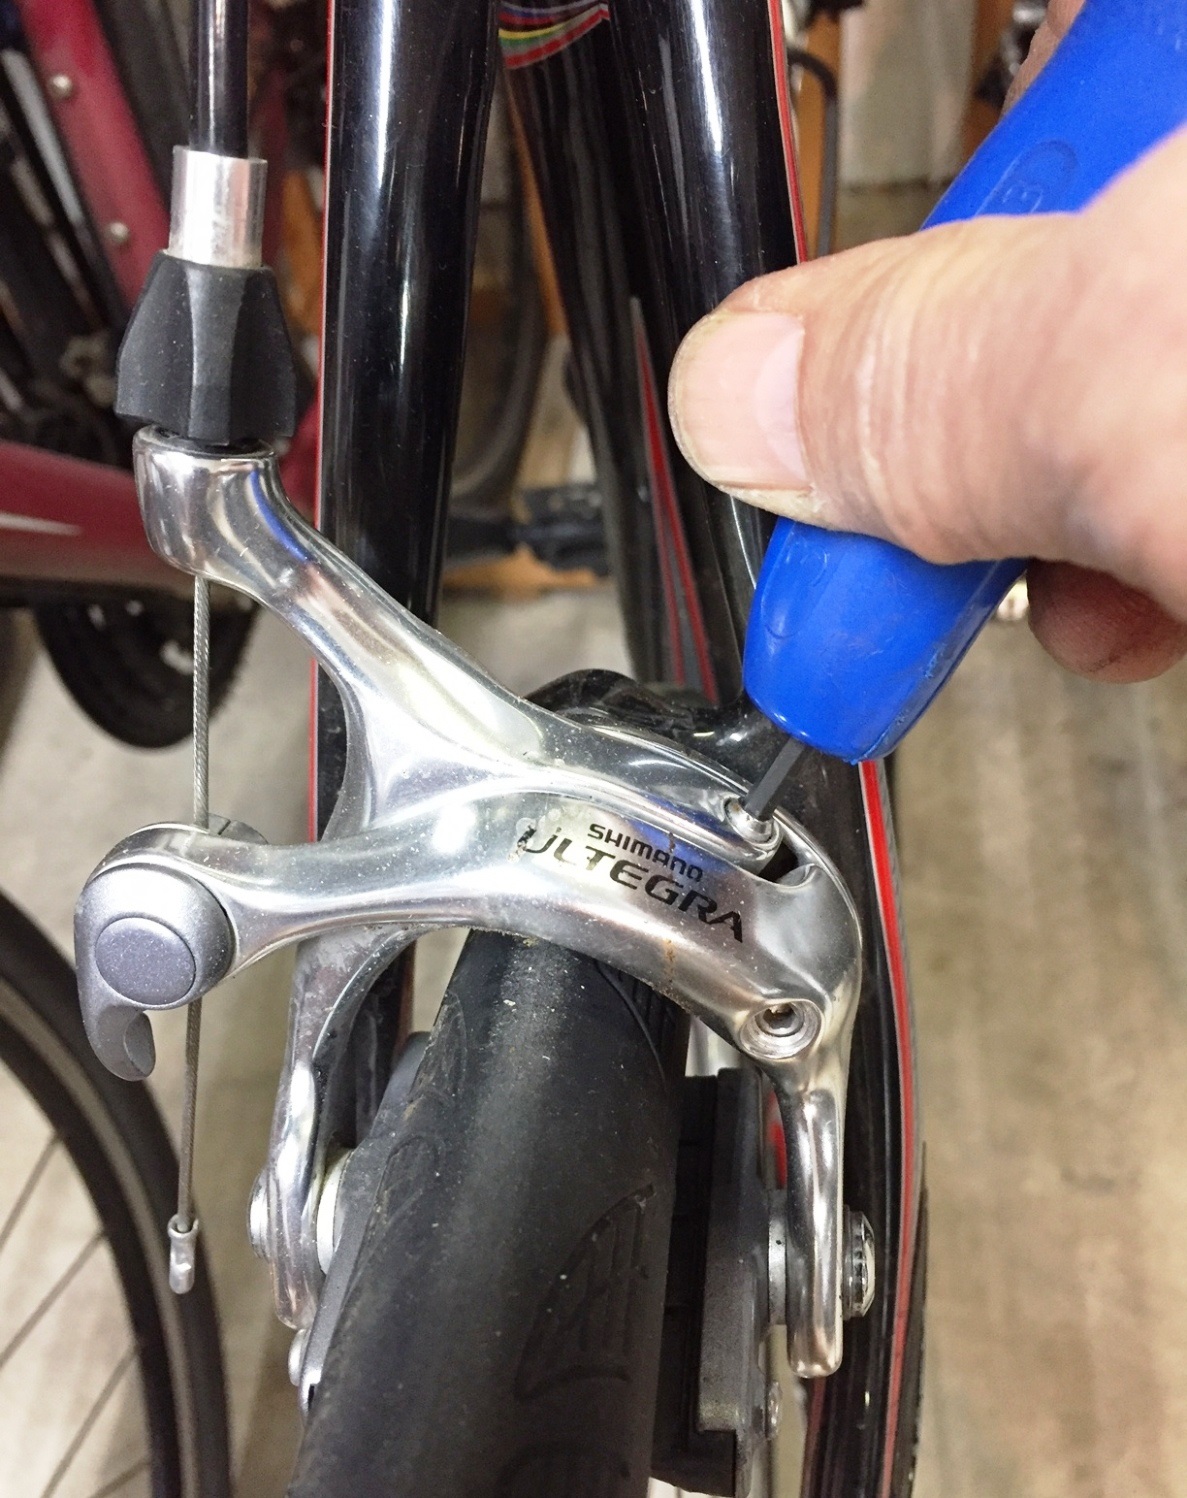

The lateral adjustment screw is easy to find on older brakes. It is more tucked away on the latest generation.
So here’s how I center my brakes:
- Screw the lateral adjustment screw all the way in, then back it out about four to five turns.
- Loosen the caliper mounting bolt, usually a 5 mm allen. (Campy uses a T25 torx bolt – of course)
- Center the brake approximately, and re-tighten the mounting bolt firmly. Shimano’s spec is 8-10 Nm.
- Rotate the lateral adjustment screw to balance the pad clearance between left and right sides.
- Re-adjust the total pad clearance if required with the cable adjustment nut.
One final note: The brake release levers are for wheel removal and insertion. Using the levers for pad clearance adjustment is like fingernails on a chalkboard to a mechanic.
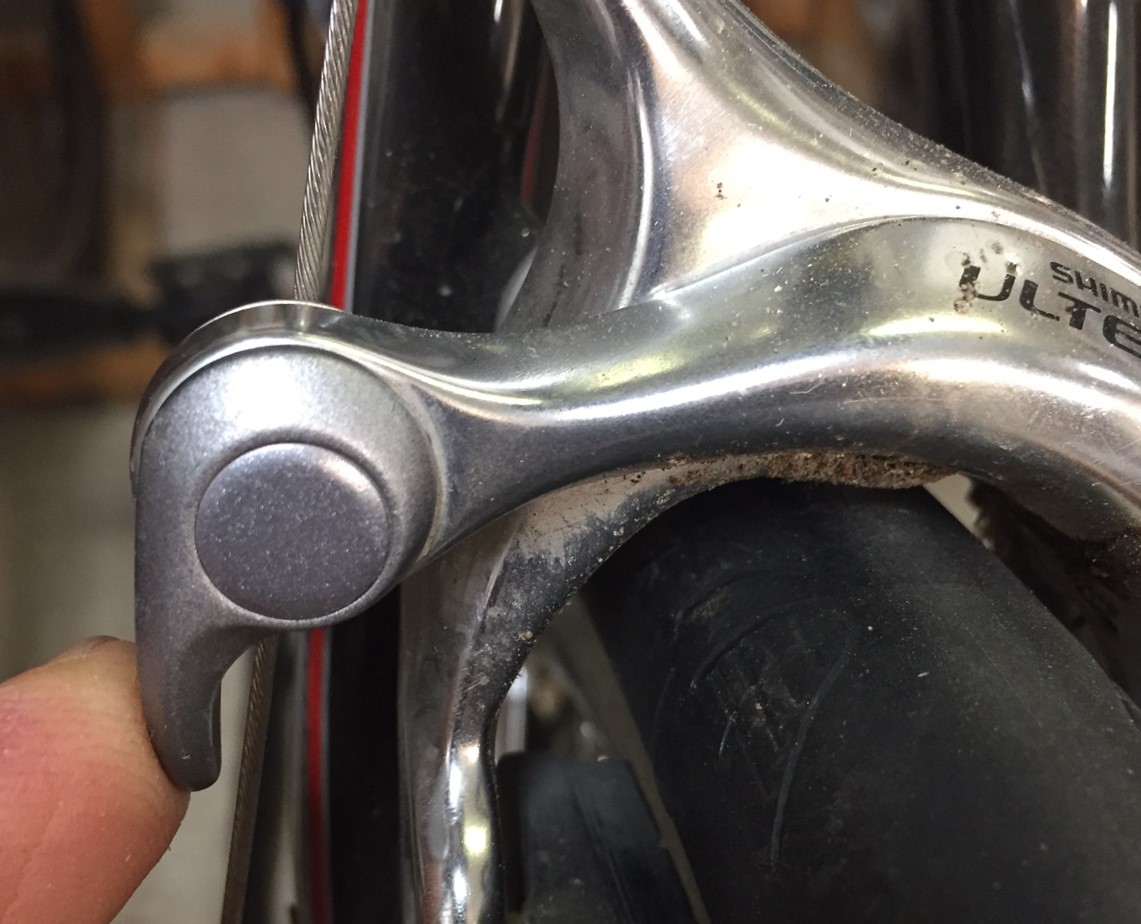
Brakes should be adjusted with the cable adjustment nut so that the pad clearance is correct when the release lever is all the way down. The only time you should ride with the lever other than down is if you have crashed or broken a spoke or something and you are trying to get home with an out of true wheel.
Thanks for reading!
Killa